
 Français
 Español
 Deutsch
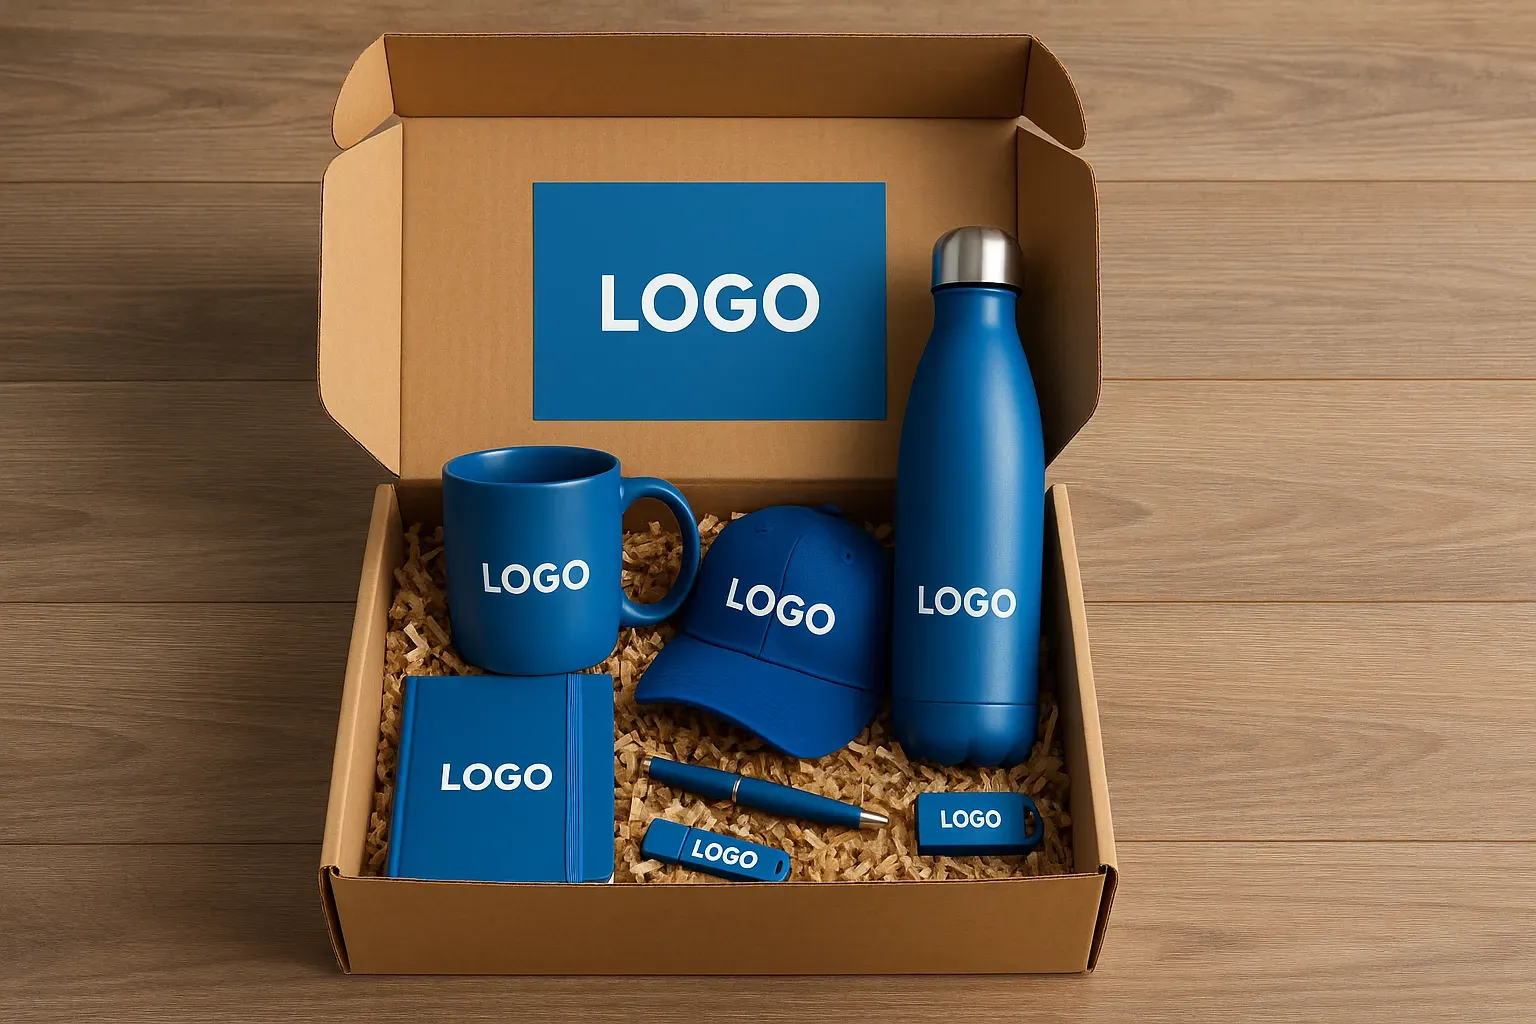
To stand out in a competitive market, more and more companies are investing in the customization of their promotional items. A promotional item marked with a brand's colors can enhance brand awareness, attract the attention of the target audience, and strengthen the company's image. However, to achieve optimal results, it is essential to master the entire process, from defining the design to choosing the marking technique. In this guide, you will discover the keys to effectively customizing a promotional item, successfully executing your promotional item marking, and determining the ideal placement of your logo.
Why is the customization of a promotional item a strategic challenge?
A strong visual identity to stand out
In a world where every organization attempts to capture attention, having a strong visual identity is a major asset. By using your colors, typography, and logo on promotional items, you continuously enhance your company.
- Creation of brand consistency: When your digital assets (website, social media) align with your physical tools (brochures, business cards), and your promotional gifts, your audience will more easily identify you.
- Increase in brand awareness: An item marked with your identity becomes a silent ambassador, conveying your company's message with each use.
Memorable and meaningful objects
By offering personalized goodies, you strengthen the emotional attachment between your employees, prospects, or clients and your brand. People who receive a gift designed for them are more likely to remember it and talk about it.
- Creation of an emotional bond: A successful promotional item generates interest, amuses, or provides concrete benefits.
- Surprise effect: A well-crafted design, an unconventional message, or an innovative feature can make your item a topic of discussion during an event or trade show.
Defining the key elements of customization
Beyond the logo: what messages and visuals?
The first idea that often comes to mind for personalizing an item is to apply your logo to it. Sure, the "logo on promotional item" remains essential for brand recognition, but other elements can enrich the marking:
- A slogan or hashtag: Perfect for a specific marketing campaign or product launch.
- An explicit visual: Illustration, icon, or symbol reflecting your values or industry.
- Contact or QR code: To facilitate access to your online resources, customer services, or catalogs.
How to choose the right colors and materials?
To effectively customize a promotional item, it is recommended to match the colors and materials to your brand identity and values:
- Colors: Stick to your brand guidelines. If you add new shades, make sure they complement rather than saturate the design.
- Materials: For a company committed to an ecological approach, for example, prefer bamboo, organic cotton, or recycled plastic.
- Finishes: Metallic effects, selective varnishing, or engraving can add a high-end touch to your goodies.
Techniques for marking promotional items
Screen printing, engraving, digital printing: what's the difference?
Several processes can achieve a marked promotional item in line with your expectations:
- Screen Printing
- Principle: Application of ink through a silk or synthetic screen.
- Advantages: Durable, good print quality, suitable for many substrates (textiles, plastics, etc.).
- Limitations: Sometimes limited colors, unit cost attractive for medium and large series, but less profitable for very small quantities.
- Laser Engraving
- Principle: Laser beam that "carves" the surface of the object.
- Advantages: Refined and durable finish, often used on metal, wood, or glass.
- Limitations: Less suitable for complex or colored patterns, mainly fits minimalist designs (logos, letters).
- Direct Digital Printing (DTG, UV...)
- Principle: Digital inkjet applied directly to the object.
- Advantages: High precision, varied color palette, ability to quickly personalize and in small series.
- Limitations: May be less durable than screen printing in the long term if the object is handled intensively.
- Pad Printing
- Principle: Ink transfer via a silicone pad, for non-flat surfaces.
- Advantages: Perfect for pens, small gadgets, or curved surfaces.
- Limitations: Often reduced print area, requiring good file preparation.
Criteria for choice: deadlines, costs, final rendering
The choice of marking technique on promotional items depends notably on:
- The materials and shapes of the item.
- The budget allocated for customization.
- The number of colors in the design.
- The production deadlines: some methods are faster or more flexible for custom orders.
Where to place your logo on a promotional item?
Practical aspect and visibility
The placement of the logo influences readability and visual impact. To choose the right location:
- Analyze the available surface: On textiles, the chest, back or sleeve can be considered. On a mug, prioritize the front area for the brand to stand out when the mug is set down or held.
- Consider daily usage: A notebook often held in hand will better highlight a marking on the cover rather than on the back cover.
- Be consistent with the design: The logo should not be positioned too close to a seam or button, to avoid being partially hidden.
Examples of placement depending on the object
- Pen:
- Lateral, on the body of the pen, for a discreet and elegant logo.
- Clip area, if the surface allows, to maintain good visibility even when it's in a pocket.
- Textile (T-shirt, polo, tote bag):
- Chest on the heart side, traditional and formal position.
- Back for larger logos or strong messages.
- Top right or center on a shopping bag for a design aspect.
- Tech accessories (power bank, USB keys):
- Main surface, centered for a sober design.
- Corner for a more modern look or multiple marking (logo + slogan).
How many customization variants to test before launching production?
It's often useful to create several mockups or prototypes to validate readability, contrasts, and overall aesthetics. Here are some tips:
- Start with 2 or 3 proposals: Vary the size of the logo, position, and color palette.
- Collect feedback: Show your mockups to colleagues or a test panel to identify the most striking version.
- Avoid excessive multiplication: Too many variants can slow down decision-making. Focus on the most relevant options.
- Request physical samples: When possible, printing a small batch or a single example allows verifying actual quality and anticipating possible problems (colorimetry, dimensions, surface rendering).
Best practices for effectively customizing a promotional item
- Respect your brand's DNA
- Choose items consistent with your positioning. If targeting a premium segment, opt for noble materials (leather, metal, wood).
- If advocating for ecology, prefer items made of natural or recycled fibers.
- Optimize file format
- Provide your graphic elements in vector format (.AI, .EPS, or .SVG). This guarantees visual sharpness, even when enlarged.
- Check the recommended resolution for printing (300 DPI or more) in case of bitmap (JPEG, PNG).
- Keep the message concise
- A slogan that's too long may harm readability.
- Favor a clean design with clearly identifiable elements.
- Keep an eye on production deadlines
- Plan early enough to avoid last-minute pressures.
- Discuss timelines with your printer or supplier to align item receipt with your events.
- Consider usage ergonomics
- Ensure that marking does not hinder handling (e.g., USB keys, pens).
- On textiles, avoid highly stretchable areas or those prone to friction.
Marking examples: focus on some popular items
<Possible "product cartridge" area>
Product CartridgeItem: Premium ball pen with laser engravingFeature: Aluminum body, push mechanismPersonalization: Laser engraving of the logo on the top part of the penAdvantage: High-end, durable finish, perfect for a business gift
Promotional textile
Textile, such as T-shirts or polos, remains a safe value for conveying a message. Techniques vary between:
- Screen printing: Bright colors and excellent longevity.
- Embroidery: Quality appearance, ideal for a high-end finish, but with a higher cost.
- Direct digital printing: Suitable for complex visuals and color gradients.
Office accessories
Notebooks, planners, and mouse pads are highly valued for their daily utility. A judiciously placed marking on the cover or a centrally visible area will make your marked promotional item a recurring communication tool.
High-tech gadgets
USB keys, headphones, wireless chargers, or Bluetooth speakers combine brand image with practicality. Laser marking can be done on a metal face, while pad printing remains common on plastic.
Conclusion and call to action
Ultimately, effectively customizing a promotional item requires paying attention to every detail: choosing the item, marking technique, logo placement, colors and materials, etc. This process demands genuine expertise but generates a strong impact. Successful marking on a promotional item conveys a brand's DNA, attracts attention, and endures through regular use, thus enhancing memorability.
Take action now
Ready to take the leap and optimize your communication?
- Step 1: Select a medium suitable for your audience (textile, office accessories, high-tech).
- Step 2: Choose the printing or engraving technique that best suits your constraints (budget, deadlines, rendering).
- Step 3: Test different mockups (colors, placements) to validate the most impactful one.
- Step 4: Launch production and anticipate distribution logistics (trade shows, postal mailings, internal events).
Looking for a trusted partner to customize your promotional items? Contact our team of experts now. We will assist you in designing your designs, selecting marking techniques, and choosing the best logo placement on promotional items. Invest in successful customization to enhance your presence and elegantly convey your organization's identity.
